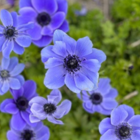
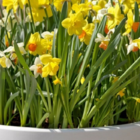
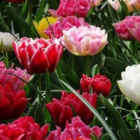
Bulb Lasagne 1 (Patio Collection)
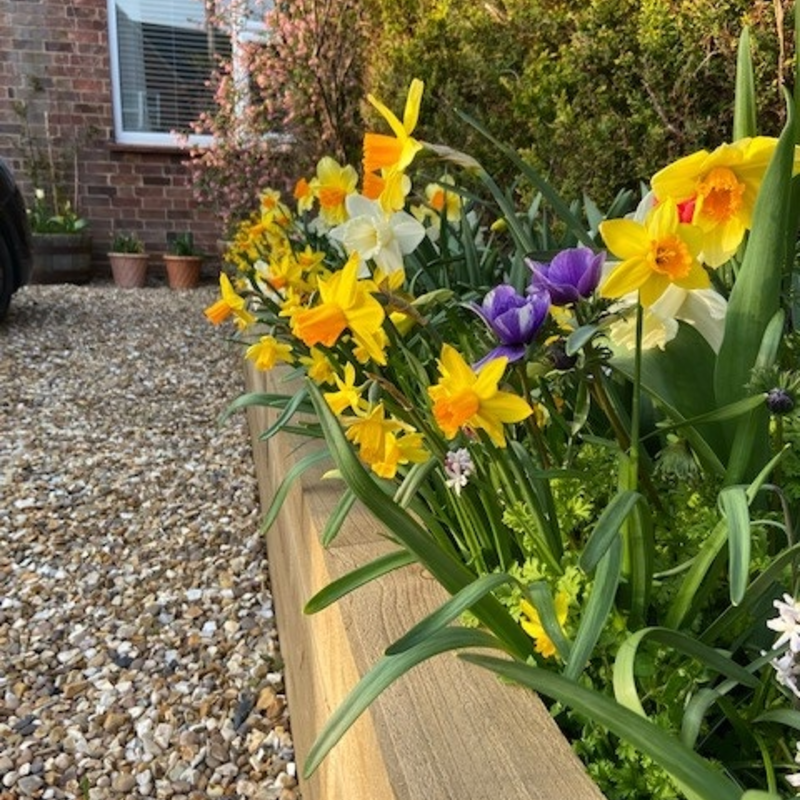
A fantastic collection suitable for filling your patio pots with ease. All the bulbs you need to ensure a great display without getting too tall, but including a vibrant range of colours. Save over 10% rather than buying individually.
- Height (cm): 8-50cm
- Blooms: February-June
This item is currently unavailable
What is a Bulb Lasagne?
What is a bulb lasagne
A bulb lasagne is a Dutch term for layering bulbs on top of one another.
It is a great way to get dense flowers with a long lasting display.
In general, the larger, later flowering bulbs go in the deepest, with smaller, earlier flowering bulbs in the top layer.
A bulb lasagne can be made up of 2, 3 or more layers with a layer of soil a couple of inches deep in between.
Bulbs need to be planted at their usual depth, so bigger or deeper pots are generally better.
You can plant the bulbs closer in pots but they do not want to be touching.
Using bulb fibre inbetween each layer will help improve drainage.
The bulbs can be left in situ for repeat flowering each year.
What's Included
6 Varieties - 300 Bulbs
| Product | Bulbs | Layer | Depth | Height | Flowers | Bulb Size |
| Mixed Dwarf Iris | 50 | Top | 15cm | 15cm | February/ April | 6/+cm |
| Mixed Crocus (Specie) | 50 | Top | 5-15cm | 8cm | February/ March | 5/7cm |
| Mr. Fokker Anemone | 40 | Middle | 25cm | June | 7/8cm | |
| Mixed Dwarf Narcissi Species | 100 | Middle | 10-15cm | 20-40cm | March/ April | 5/7cm |
| Mixed Double Tulip | 30 | Bottom | 10-15cm | 25-50cm | April/ May | 12/14cm |
| White Hyacinth | 30 | Bottom | 10-15cm | 25cm | March/ April | 16/17cm |
Sowing & Establishment
How to plant your bulb lasagne
1 - Open up the box
Aim to plant the bulbs as soon as possible upon arrival. If you need to store them, leave the box open and keep them in a cool, dark and dry space with good ventilation, such as a shed or garage.
2 – What to expect
A range of different bulbs in individual bags with a label on each stating the variety. Bulbs will vary in size depending on species and type.
3 - Location
The bulbs in this collection are ideal for either sowing into pots or directly into borders. A sheltered spot is ideal for those taller species.
4 - Planting
If planting into a pot, ensure that the larger bulbs are planted first with the smaller bulbs on the top layer, with at least 1-2 inches of soil in between each layer.
Using bulb fibre inbetween each layer will help improve drainage.
5 – Depth and Spacing
Plant the bulbs with the pointed tip facing up, at the depth stated on our 'What's Included' page. Cover with soil and press down firmly. Water on planting and regularly in the first few weeks, don't let the compost dry out.
6 - Flowering
Sit back, relax and look forward to beautiful Spring flowers!
7 - Aftercare
Once your flowers have finished flowering, de-head the spent flower heads leaving the foliage to die back before cutting down. The bulbs can be left in situ, or lifted if required once the foliage has been removed and stored somewhere warm and dry to replant elsewhere in the Autumn.
Buy With Confidence

Customers who bought this also bought:
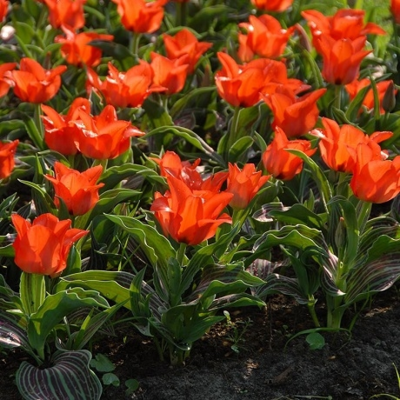
Red Riding Hood Tulip Bulbs
This item is currently unavailable
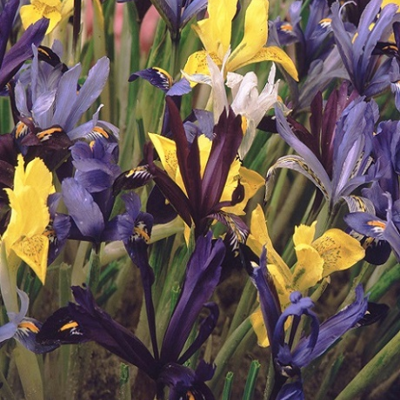
Mixed Dwarf Iris Bulbs
This item is currently unavailable
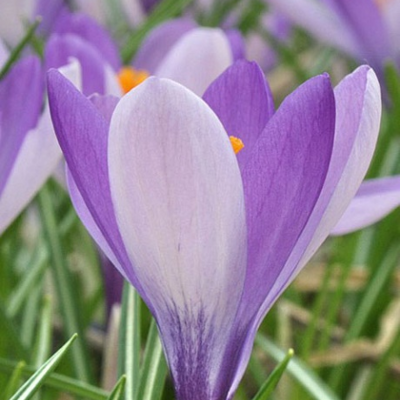
Yalta Specie Crocus Bulbs
This item is currently unavailable
